Table of Contents

The Terminal
Homebrew 🍺
To start us off, we have the package manager Homebrew. Homebrew will take good care of the software you install. It allows for one-line install with brew install ... and allows you to quickly update all your packages with brew update. For a more complete list on how and why to use Homebrew please check out their website. We will be using Homebrew to install most of the things mentioned in this article.
fish shell 🐟
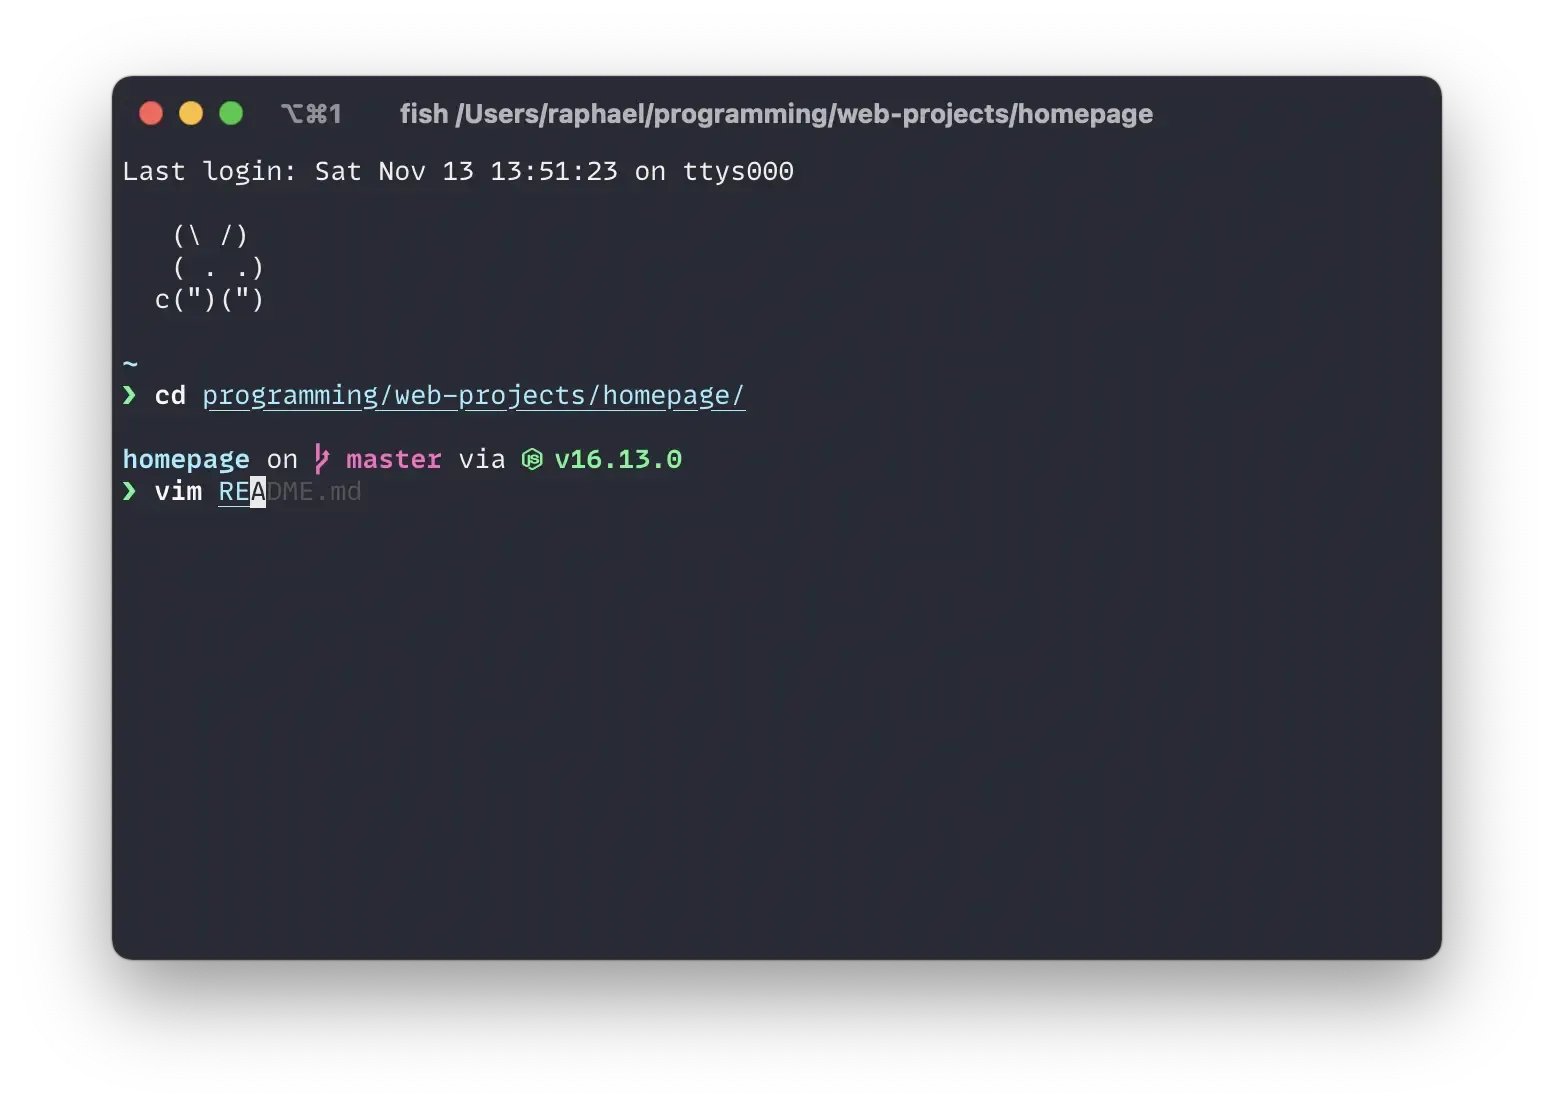
Fish is a lesser known, beginner friendly shell that comes with an amazing out of the box experience. In case you are currently using bash or zsh, you have probably spent a reasonable amount of time struggling with oh-my-zsh or the like. There will be no need for that. Fish comes with the most helpful features already enabled. These include autosuggestions, syntax highlighting, and easy history search.
Fish is also its own scripting language that deviates slightly from the bash standards. (You can still run bash script if they are prefixed with \#!/bin/bash.) It aims for readability and can be nice to use. Yet, it can make certain bash scripts more annoying to run on fish. For example, you will probably want to install fnm instead of nvm because of compatability issues.
Some tips for installing fish: If you install fish by running brew install fish, fish might be installed into /opt/homebrew/bin instead of the location /usr/local/bin/fish often referenced in tutorials. In this case remember to use the correct path when adding to /etc/shells and running chsh -s. Once fish is your default shell, your $PATH environment variable will most likely be almost empty. Add back all the important paths with fish_add_path. You should be all set after!
Want to learn more about fish? Check out this list for more info.
Want to become better at using the command-line? Read the art of command-line.
Command-line Tools 🔨
-
fzf - command-line fuzzy finder. Just hit ctrl-r and start typing snippets of the command you’d like to use. Any previously used commands that look similar will pop up. Most useful utility on this list.
-
bat - a prettier version of
cat -
fd - a simple and fast alternative to
find -
tldr - simplified man pages
-
z - fish version of
z. Used to jump around. Can be installed with fish’s plugin manager fisher. -
ripgrep - fast
grepcommand -
exa - modern
lsreplacement
iTerm2
iTerm2 is a replacement for the standard Terminal app on your Mac. It comes with a variety of features. The main selling point for me, though, is the available themes we will cover next in the Aesthetics section. I recommend the following settings. Under Preferences (⌘,) -> Appearance pick the Minimal theme.
The Aesthetics
Starship 🚀
Starship is a fast, customizable, minimalistic prompt that can be used with any shell. To install, use brew and add the init script to the right shell-config file. Additionally, you will have to install a Nerd Font. I personally chose Hack. Starship might be my favorite item on this list. You will have to enable the font under Preferences (⌘,) -> Profiles -> Text. Additionally, I recommend enabling ligatures.
iTerm Themes 🎨
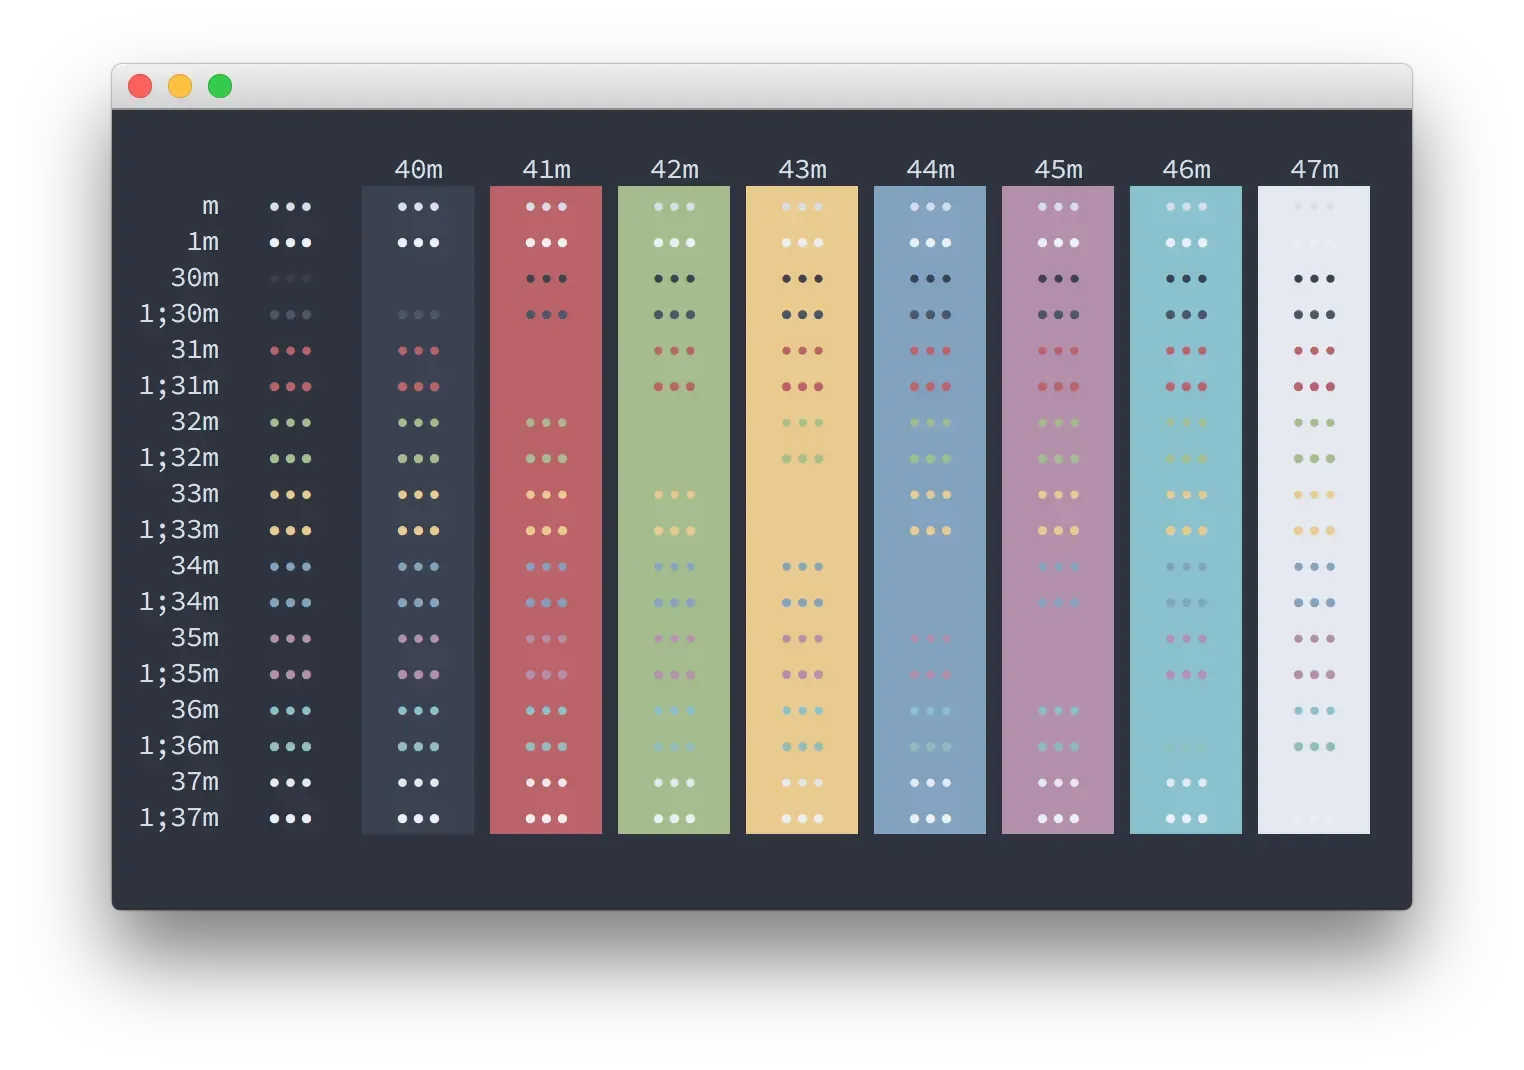
A nice theme brings it all together. To install these download the .itermcolors file and double-click it. Next, open iTerm and navigate to Preferences, Profiles, Colors. Then click on Color Presets and select the newly installed theme. Here are my favorite themes.
- Nord - Beautiful, subtle color scheme.

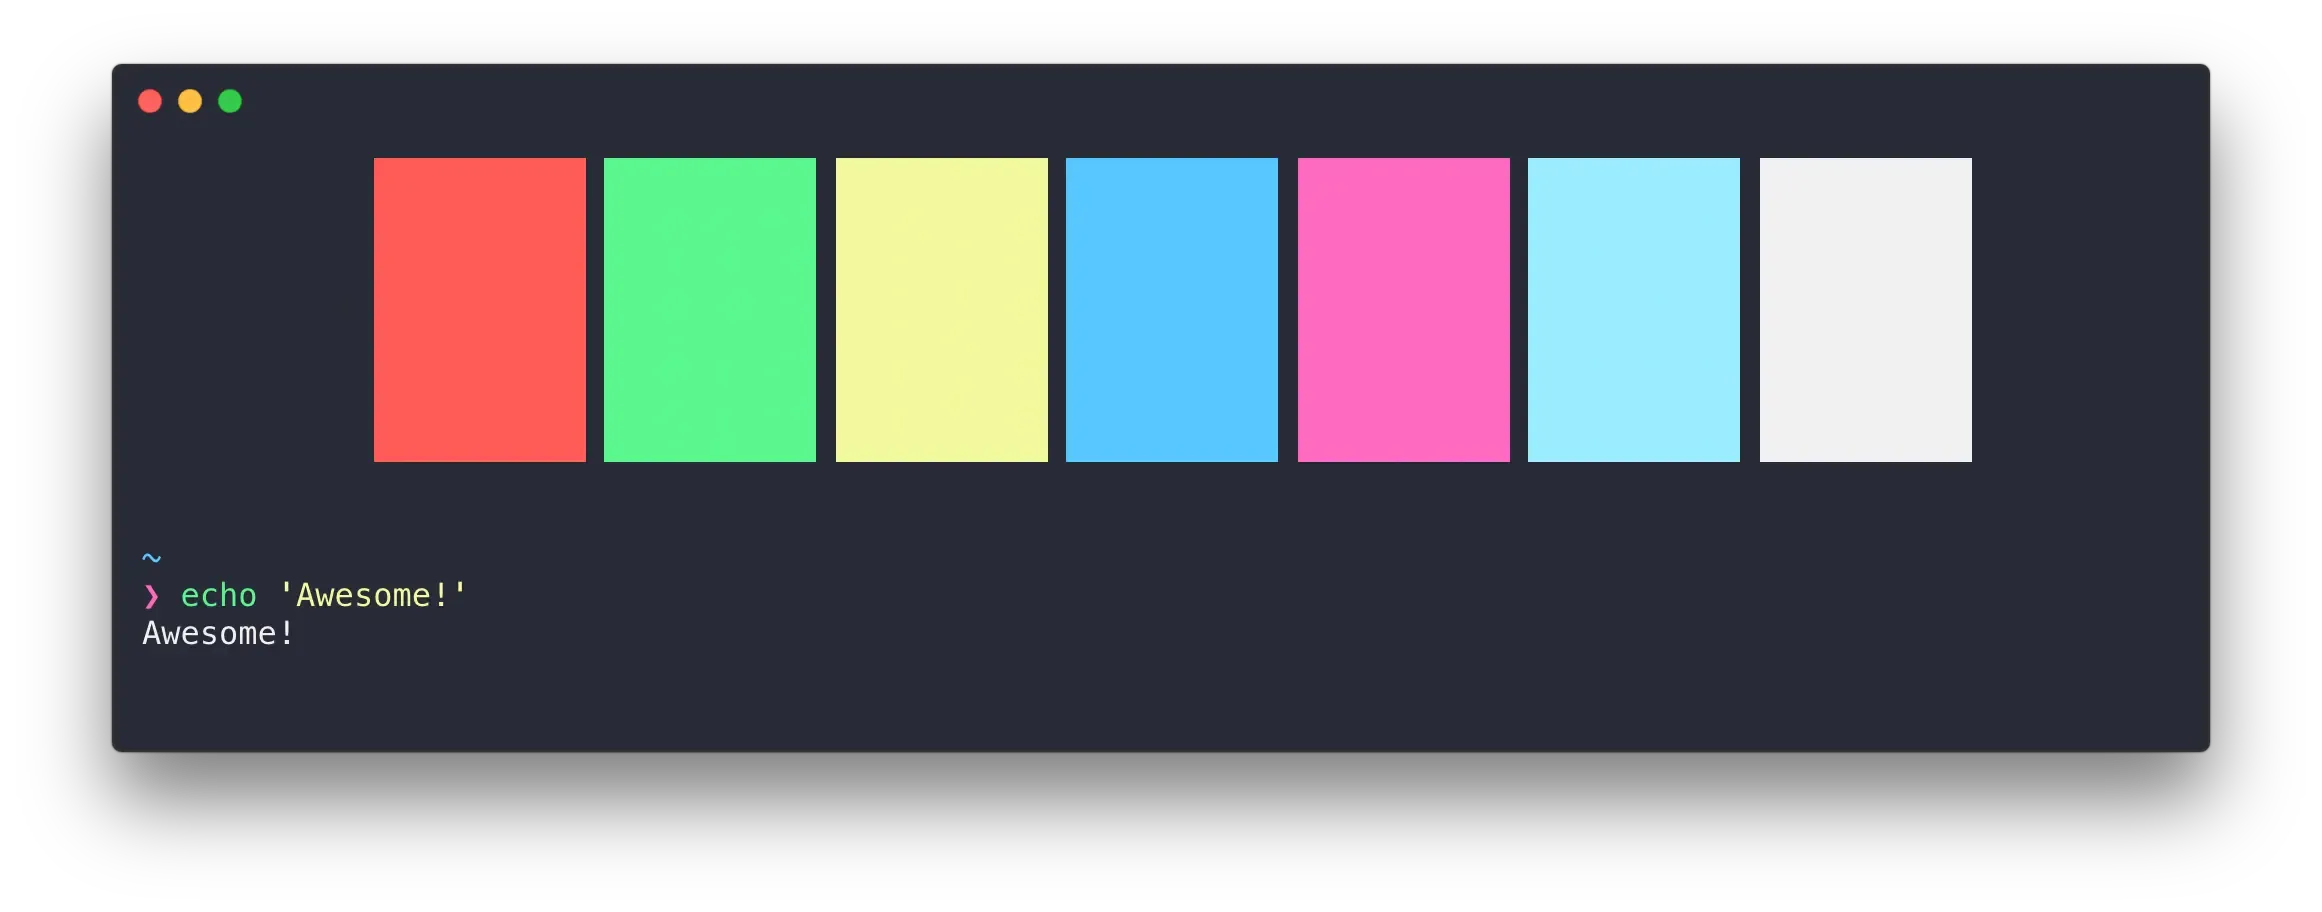
- Snazzy - Slightly more vibrant than Nord.

Other good options are Raycast Light / Dark. A full list can be found here.
Vim - The Editor ✏️
Vim has an endless amount of shortcuts you can use. Here are some of the basics. I highly recommend being an active learner. So, whenever you think there should be a faster way to do this, go and look it up!
Remapping your esc key
Since your escape key is one of your most used keys, but is not that accessible, I highly recommend you overwrite your caps lock key. This way you can always hit escape with your left pinky without moving your hand at all. To do so, go to System Preferences >> Keyboard >> Modifier Keys… and select ⎋ Escape for ⇪ Caps Lock.
Your ~.vimrc file
If you are in your root directory and ls -a you should be able to see you ~.vimrc file. This is the settings file for vim. You can check out mine below, even though I only use a small subset of all the available settings.
You may also check out the plug-in vim match-up, which lets you jump from an if to the corresponding else with %.
"  Set-up relative and absolute line number handling"  ------------------------------------------------   set number   set relativenumber

"  UI Configurations"  ------------------------------------------------   set showcmd           " show command in bottom bar

"  General settings"  ------------------------------------------------   set nowrap  " dont wrap lines   set tabstop=4        " a tab is four spaces   set shiftwidth=4     " number of spaces to use for autoindenting   set expandtab   set autoindent       " always set autoindenting on   set ignorecase       " ignore case when searching   set smartcase        " ingonore case if search pattern is all lowercase,                        "      case-sensitive otherwise   set hlsearch         " highlight search term   set incsearch        " show search matches as you type

"  Syntax Highlighting"  ------------------------------------------------   syntax on   set showmatch        " highlight matching [{()}]

"  Plugins"  ------------------------------------------------"  Uses vim-plug.   call plug#begin('~/.vim/plugged')
   " Vim-Matchup for the % key.   Plug 'andymass/vim-matchup'
   " Vim-Surround   Plug 'tpope/vim-surround'
   " Initialize plugin system   call plug#end()
On My Radar
Check out Warp. It’s a modern terminal with many quality of life improvements. I might write a guide about it soon.